Who knew a “log” of foam could work wonders for your muscles, speeding up recovery times after a workout, relieving pain and preventing injury.
This inexpensive lightweight equipment will be one of the most valuable purchases you will make, as it helps your body warm up and mobilise before exercise and aids recovery afterwards.
Stretching is also beneficial before and after exercise, but in isolation is not always enough to release muscles tightness.
While foam rolling can be done before and after a workout, pre-workout sessions should focus on problem areas, whereas post-workout sessions should focus on all of the muscle groups worked that day.
How Does It Work?
It works by using your own body weight and rolling over trigger points and knots in the muscles, similarly to a deep tissue massage and is considered a form of myofascial release treatment.
Pressure is applied to these tight fibrous knotted areas in the muscle and fascia to release them and return the muscle back to normal. Therefore allowing full range of motion, flexibility, and movement without discomfort or pain.
Most people only use a foam roller when they feel a tight spot or sore muscle, however the benefits of using a foam roller daily before and after exercise will far outweigh occasional use.
What are Trigger Points and What Causes Them?
Trigger points are specific “knots” that form in muscles and can refer pain to other areas of the body. This is experienced when pressure is applied to one area of the body, but the pain is felt or radiated in another area.
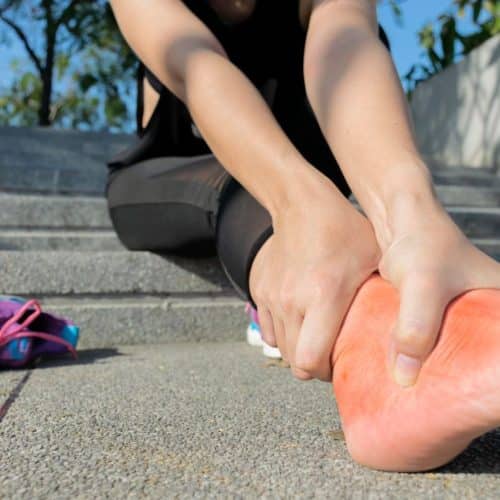
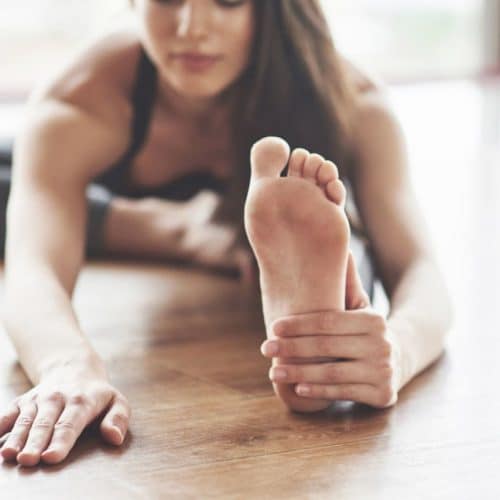
A common example of radiated pain from trigger point therapy is while foam rolling your inner gastrocnemius (calf) muscle, pain may be felt in the arch of the foot.
Trigger points also cause the muscle to tighten and shorten, causing pain and discomfort with movement.
There are many reasons for trigger points forming in your muscles, including the following;
- Weights training or high intensity exercise.
- Flexibility and movement patterns.
- Overuse or trauma injuries.
- Posture.
- Nutrition and hydration.
- Rest and stress levels.
- Other lifestyle factors.
Why Is A Foam Roller Your New Best Friend?
- Reduces immobility and pain by minimising tight knots within the muscles.
- If no knots are present it is still beneficial in reducing muscle tension and increasing range of motion of the joints.
- Increases circulation and nutrients to the muscles improving flexibility, range of movement, and decrease the risk of injury.
- Helps to engage your muscles and build strength.
- Improves core strength as you need to hold yourself up and balance over the foam roller.
Ways To Use A Foam Roller:
Tensor Fasciae Latae (TFL) & Iliotibial Band (ITB)


To get into position, put the foam roller under your hip on the side with the other leg resting on the floor as a support. Roll down from the hip to the knee by moving on top of it. If you find a trigger point push down and hold or roll back and forth over the tender spot. This will help loosen up the IT band.
Vastus Medialis Oblique (VMO)

This one uses the same principles but this time you are laying on top of the foam roller face down with the legs apart. Place foam roller on the inside of your knee and work up and down from the hip to the knee, stopping and working on trigger points like mentioned above.
Quadriceps

Get into a plank position on one side and put the roller under your hip. Keep your hands on the floor and core tight. Start at your hip and work down to the knee applying the same principles. The free leg can be bent and free foot can assist moving your body over the foam roller (as shown above).
Glutes


Sit on the foam roller, and rotate your weight and position onto one glut muscle at a time. You may even place one leg over the other to intensify the technique (as shown in left diagram above). Then roll your hips towards the ground, working your way along the gluteus muscle.
Hamstring


Supporting your weight with your arms and tightening the core, the foam roller is placed under the hamstring. Roll the foam roller from just below the buttocks to behind the knee, focusing on areas of tightness.
Calf

Place the foam roller behind the knee and work your way down to the heel. Lift the hips up supporting your body weight through your arms, keeping the legs straight rolling back and forth while stabilizing your core muscles.
What Is The Correct Technique?
- Use your body weight to control the amount of pressure to a muscle group.
- Use a constant pressure with small slow movements back and forth.
- When you find areas that are tight or painful, pause for several seconds and relax as much as possible.
- Keep your breathing deep and regular to relax your muscles.
- Using your arms, support some of your weight elsewhere and as the muscle relaxes add more “weight”, working to your own pain threshold.
- If you’re new to foam rolling, start out gradually with lighter pressure and a shorter session. In time you can progress to more intense pressure.
- Control the pressure to a mild and tolerable discomfort as too much pressure and pain will cause a jerk like reflex that will tighten the muscle further.
What To Expect After Using A Foam Roller:
- Tenderness in the muscles rolled may be experienced the next day.
- Your flexibility will increase.
What To Remember After Using The Foam Roller:
- Drink plenty of water, get enough sleep, and eat well. This will help to flush your system and fuel your muscles more effectively.
- Wait 24-48 hours before focusing on the same area again.
It is always recommended to consult with your sports podiatrist beforehand who will demonstrate appropriate technique, the areas that you need to focus on and some tips on how to get the most benefit out of foam rolling.
For a more advance trigger point release tool, check out the Point of Release.